efistu.com Home Decor

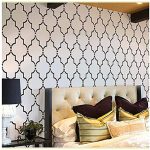
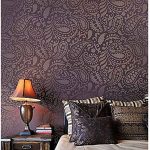
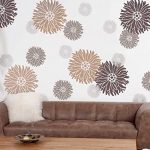
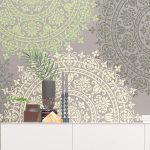
Wall stencils are a great way to introduce dramatic touch points into your living room using creative designs. Here is a simple guide on how to stack your living room walls.
Material is needed
Wall paint color, paint band, accent color, paper towels, level, stencil, pen and stencil brush
Wall Preparation
Choose the wall on which you intend to apply the stencil and choose a stencil design, wall color and accent color that you intend to stencil the design. You can choose to paint the wall if it is not of the chosen color.
Find a starting point
Using stencils for walls is as important as making a design. You need a starting point. Determine the design of the design and place the stencil on the wall from the starting point. Use the painter's tape to attach the stencil.
Paint the design
Paint the selected stencil construction on the wall with a stencil brush in the dry brush shape. Start by dipping brush tips in color and removing the excess paint by gently dipping the stencil brush on the paper towel. Use the dotting method by applying color by dropping the brush against the openings on the stencil. Avoid brushing over stencil openings, as it will cause paint to seep through the stencil to the wall. Hold the stencil in position and press it around the openings and dot at the same time to get sharp lines. Now track all 4 registration points with a pen before moving the stencil.
Move the stencil
Set the registration points and move the stencil so that the design continues. You can pave the stencil in position and repeat the process of painting. You can use the level to control tile placement to ensure a smooth design painting. Paint the stencil design on the wall edges while trimming creates a look similar to a wall paper. Repeat the entire procedure until you stop.