 efistu.com Home Decor
Revamp Your Kitchen: Expert Tips for Painting Cabinets Like a Pro
Transforming your kitchen into a stylish, contemporary space doesn’t have to drain your wallet. Painting kitchen cabinets offers an affordable and impactful way to breathe new life into your cooking area without the expense of a full renovation.
Why Opt for Painting Your Kitchen Cabinets?
Painting your cabinets is a clever renovation strategy that can dramatically update your kitchen’s appearance without the hefty price tag of replacing cabinetry. It’s a cost-effective way to refresh your space, adding personality and style with minimal disruption.
Understanding the Investment
- Estimated Cost: Between $500 and $2,000 depending on materials and labor
- Skill Level: Intermediate – requires patience and attention to detail
- Duration: Typically 2 to 3 days to complete
- Cost Savings: Can save thousands compared to full cabinet replacement
Gathering Your Essential Painting Supplies
Tools and Materials Checklist
- Premium quality primer
- Cabinet-specific paint
- Various grits of sandpaper
- High-quality paintbrushes and rollers
- Protective drop cloths
- Painter’s tape for clean edges
- Effective cleaning agents

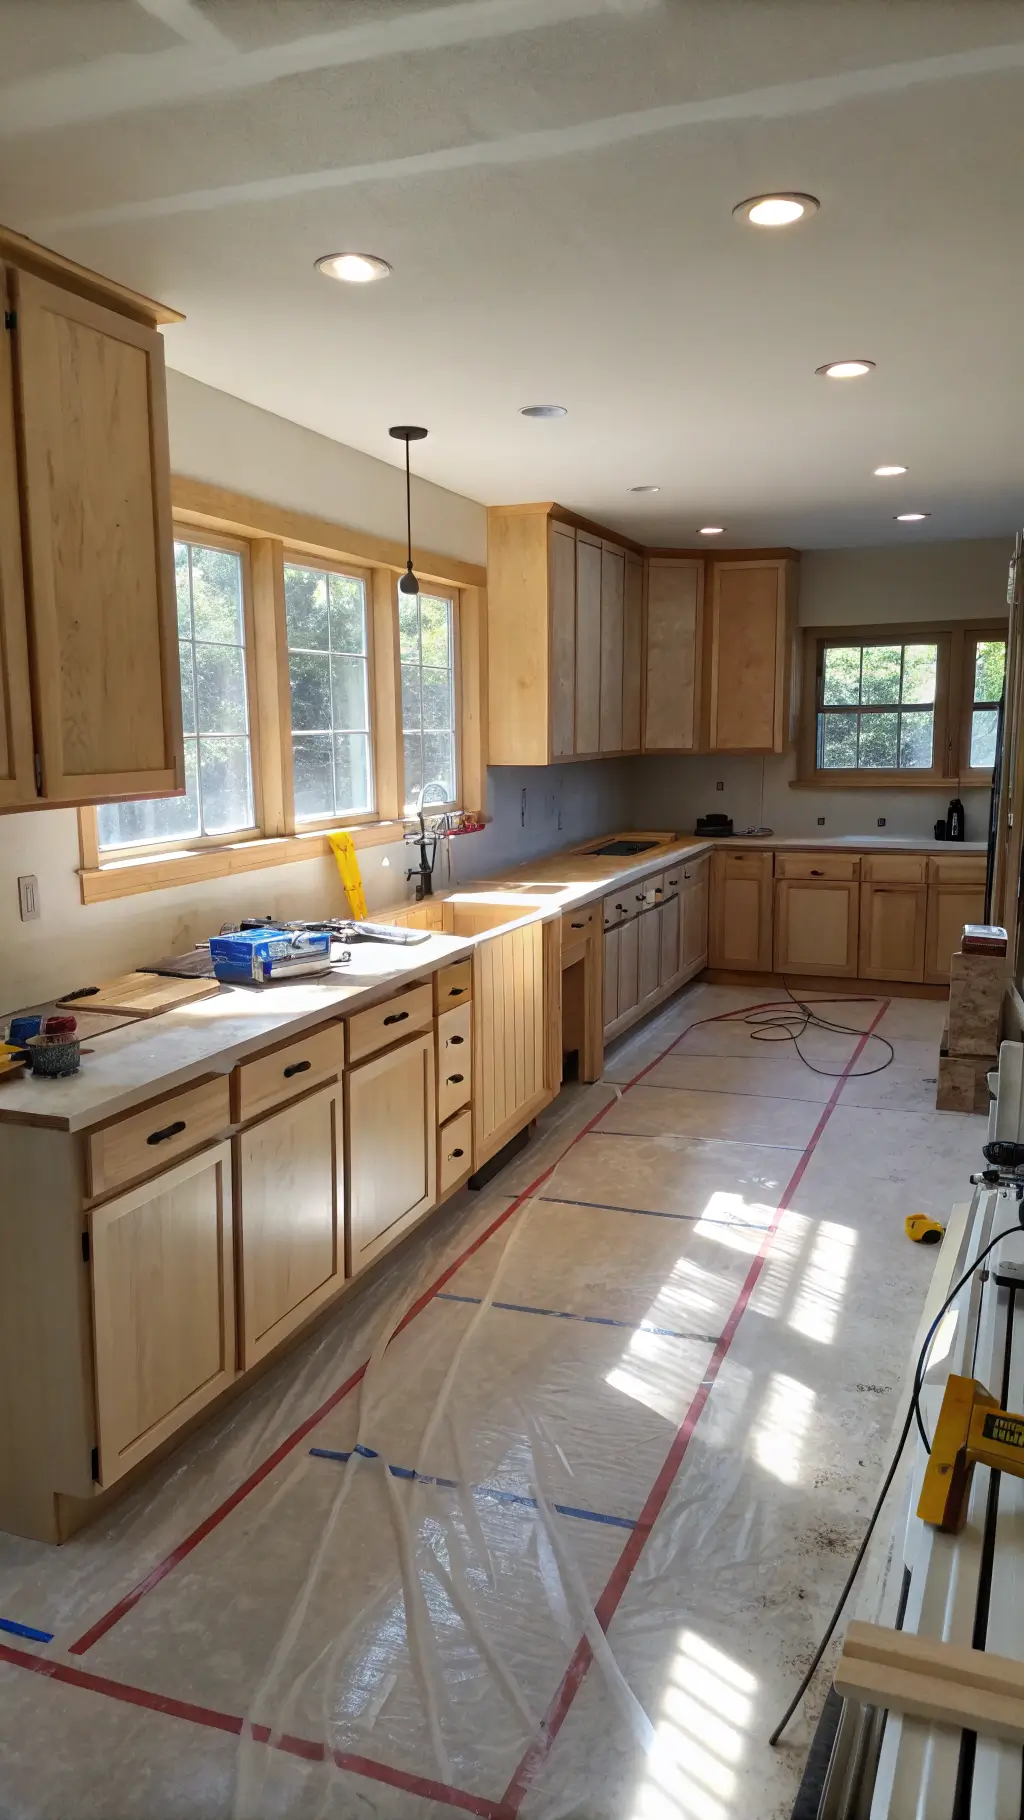
Preparation: The Foundation of a Flawless Finish
Step One: Thorough Cleaning and Degreasing
- Detach all cabinet knobs and handles
- Use a strong degreaser to eliminate built-up cooking oils and grime
- Scrub all surfaces meticulously to ensure a clean base
Step Two: Sanding for Optimal Paint Adhesion
- Begin with medium-grit sandpaper to roughen the surface
- Create an even texture that allows paint to bond effectively
- Remove all sanding dust with a damp cloth or vacuum
Selecting the Ideal Paint and Color Scheme
Popular Color Choices for Cabinets
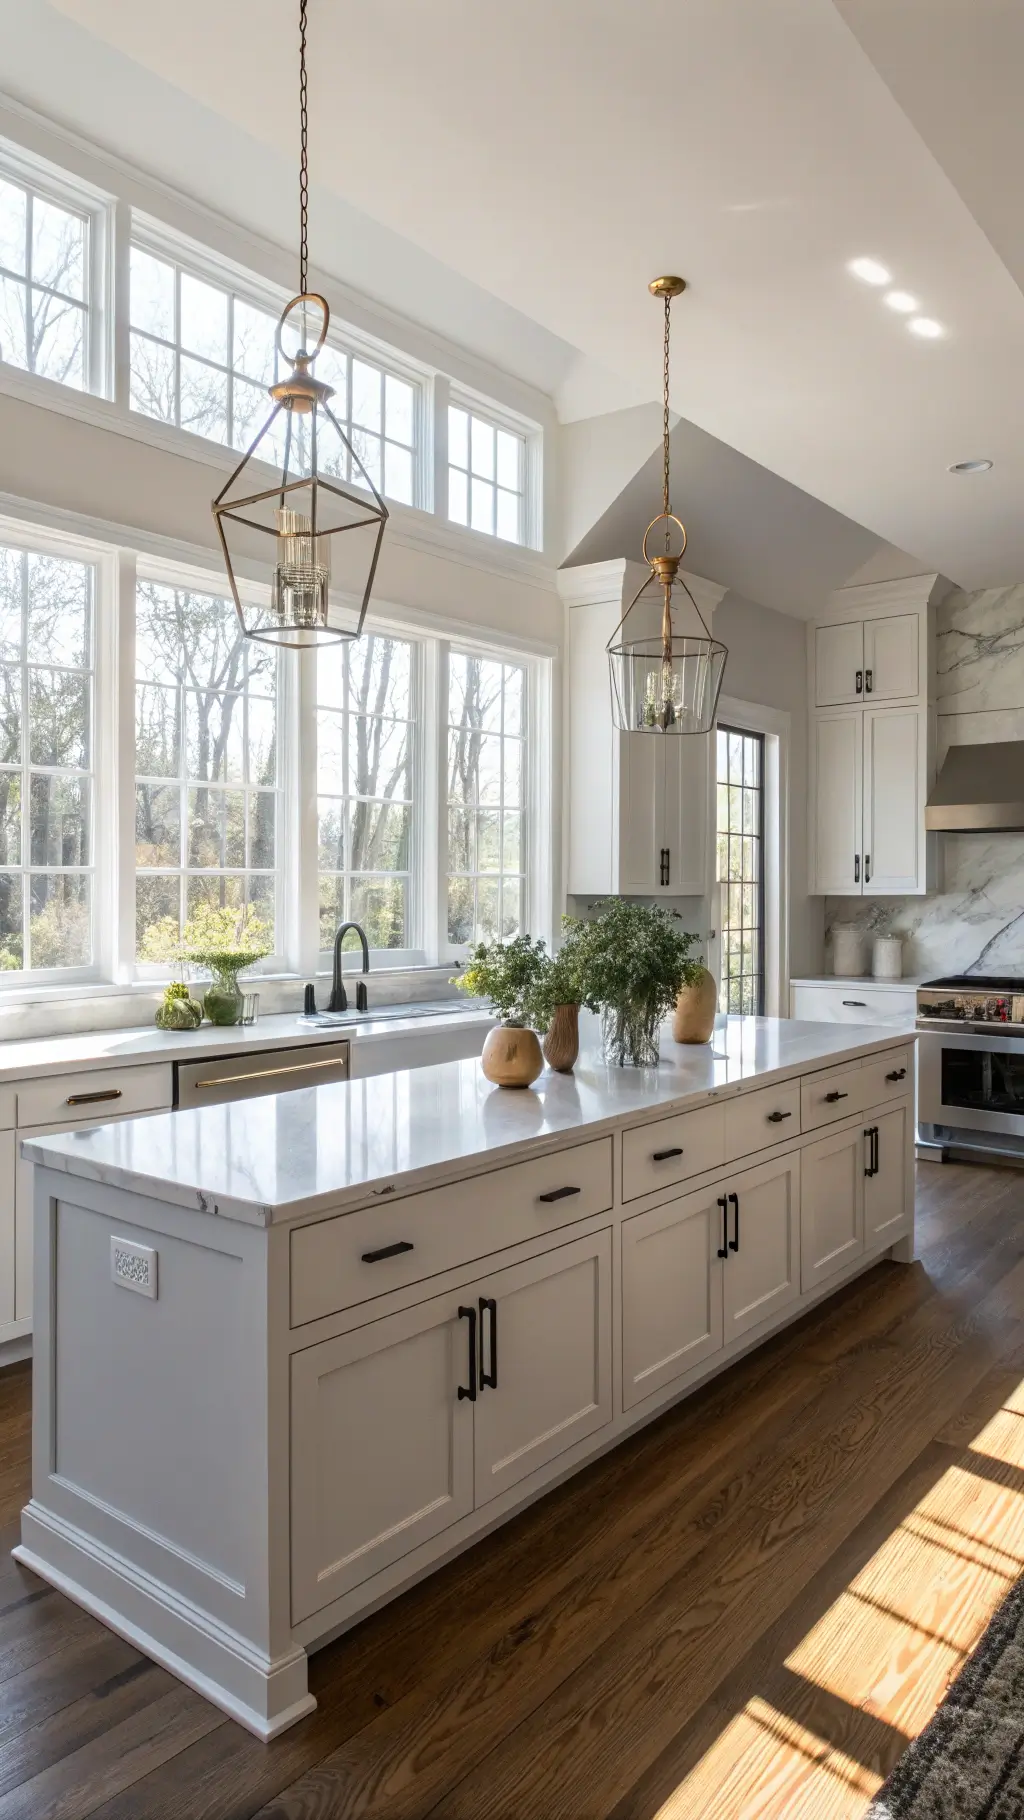
- Bright White: Clean, timeless, and versatile
- Soft Gray: Sleek and contemporary
- Deep Navy: Adds a dramatic flair
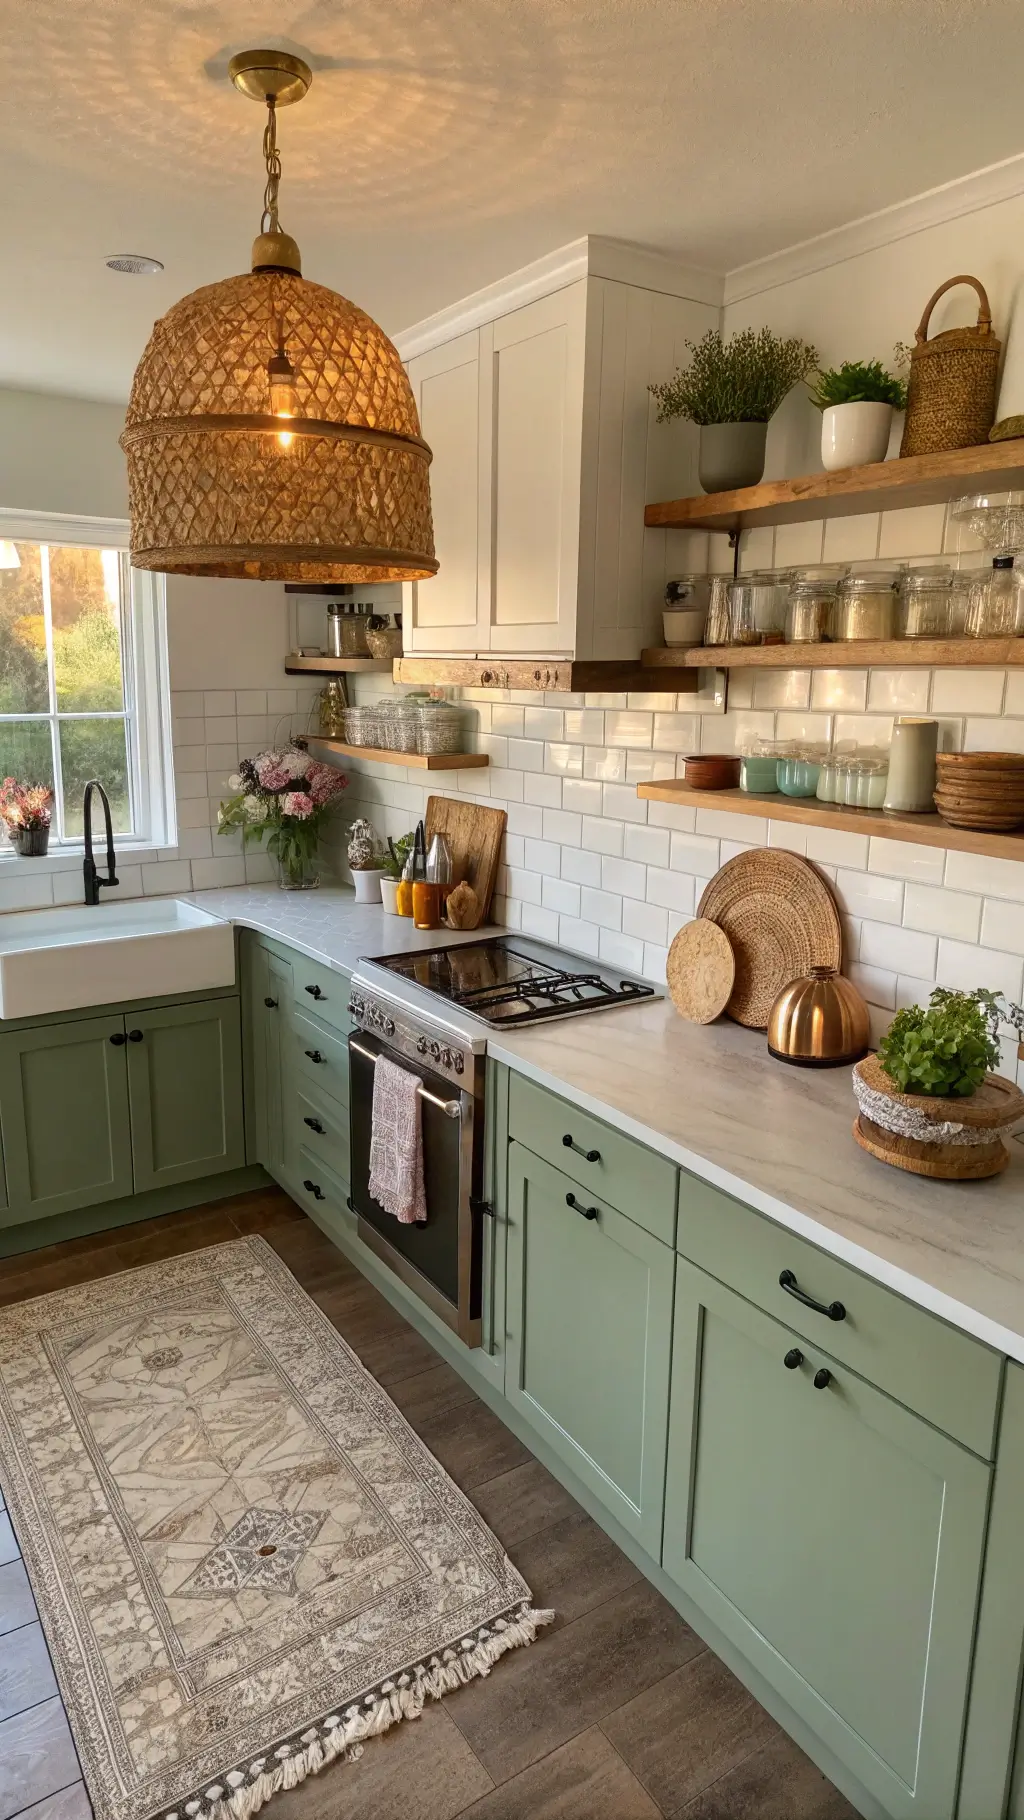
- Muted Sage: Creates a serene, natural vibe
Insider Tip: Always opt for paint formulated specifically for cabinetry to ensure durability and a smooth finish. Standard wall paint lacks the resilience needed for kitchen use.
Mastering the Painting Process
Step-by-Step Application
- Begin with an even coat of primer to seal the surface
- Apply thin, uniform layers of paint to avoid drips and uneven texture
- Allow sufficient drying time between coats for optimal adhesion
- Lightly sand between coats to achieve a silky smooth finish
Common Pitfalls and How to Avoid Them
Typical Mistakes to Watch Out For
- Neglecting to prime the cabinets before painting
- Hurrying through the drying and sanding stages
- Failing to remove hardware, leading to uneven paint edges
- Using low-quality brushes that leave streaks
- Painting in high humidity, which can cause bubbling
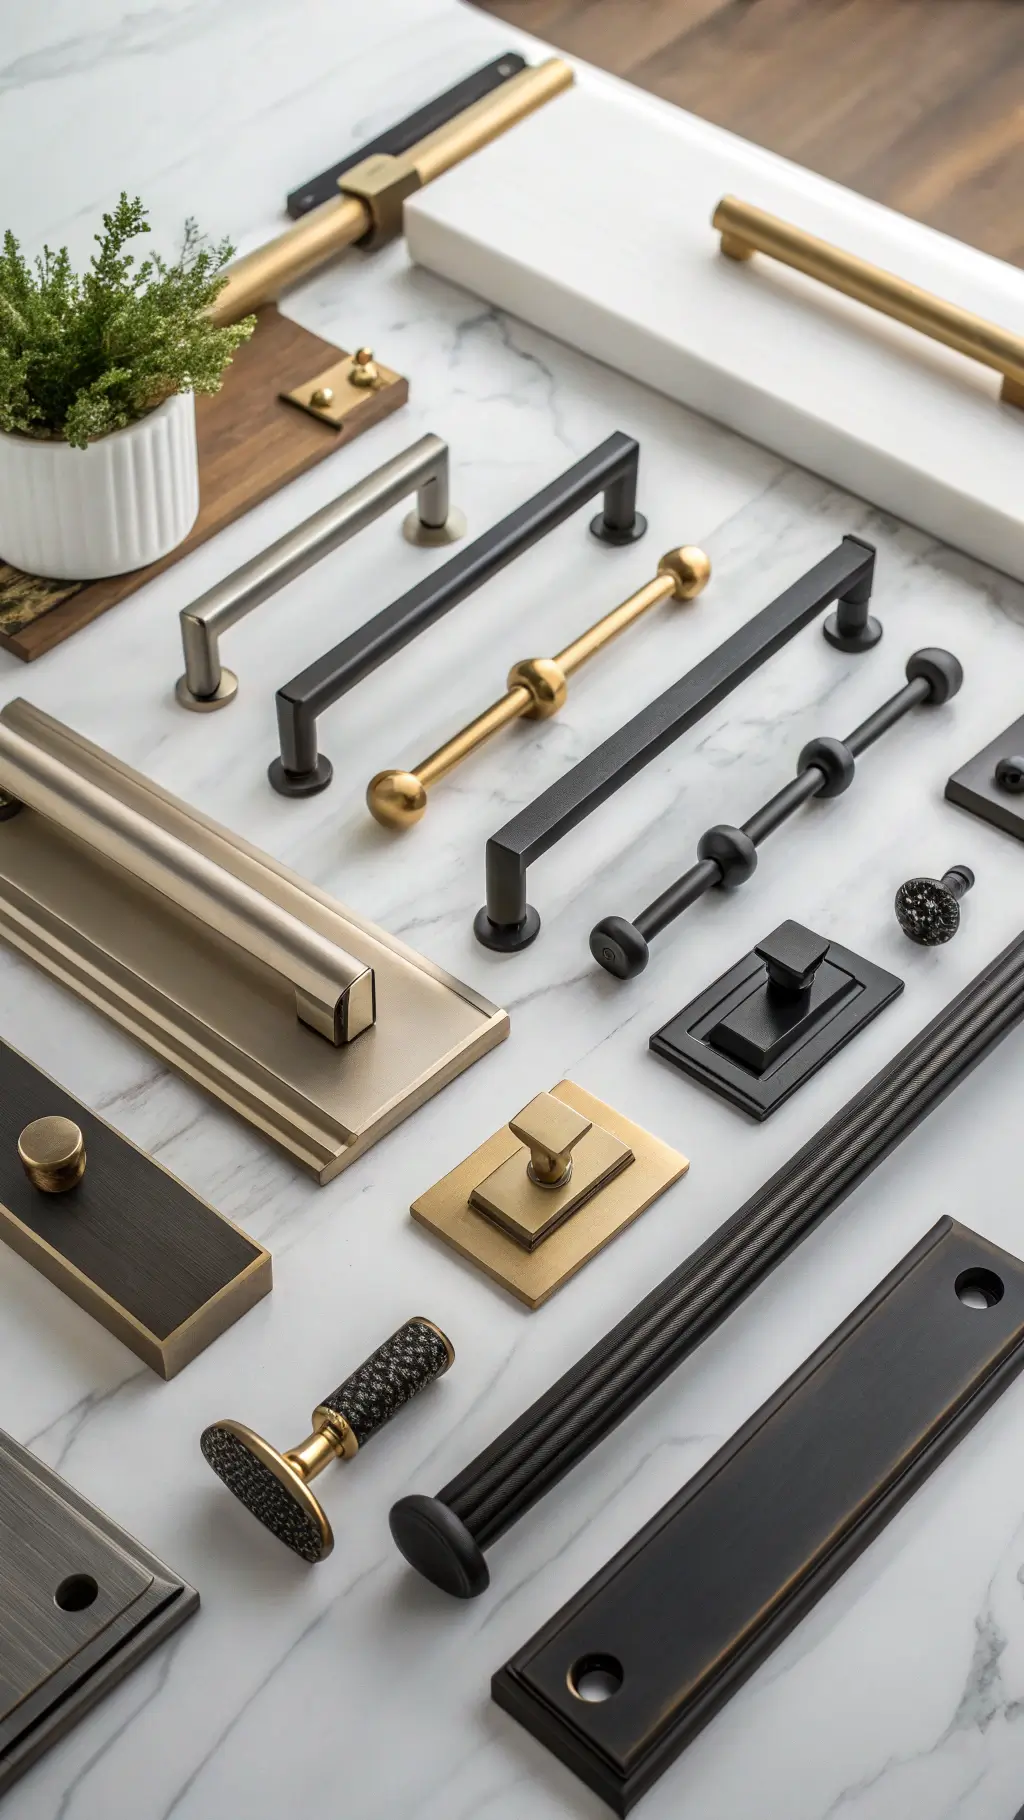
Enhancing Your Cabinets with New Hardware
Upgrade Ideas for a Polished Look
- Swap out outdated knobs and pulls for a fresh appearance
- Explore finishes like brushed nickel or matte black for a modern touch
- Measure existing hardware carefully to ensure compatibility
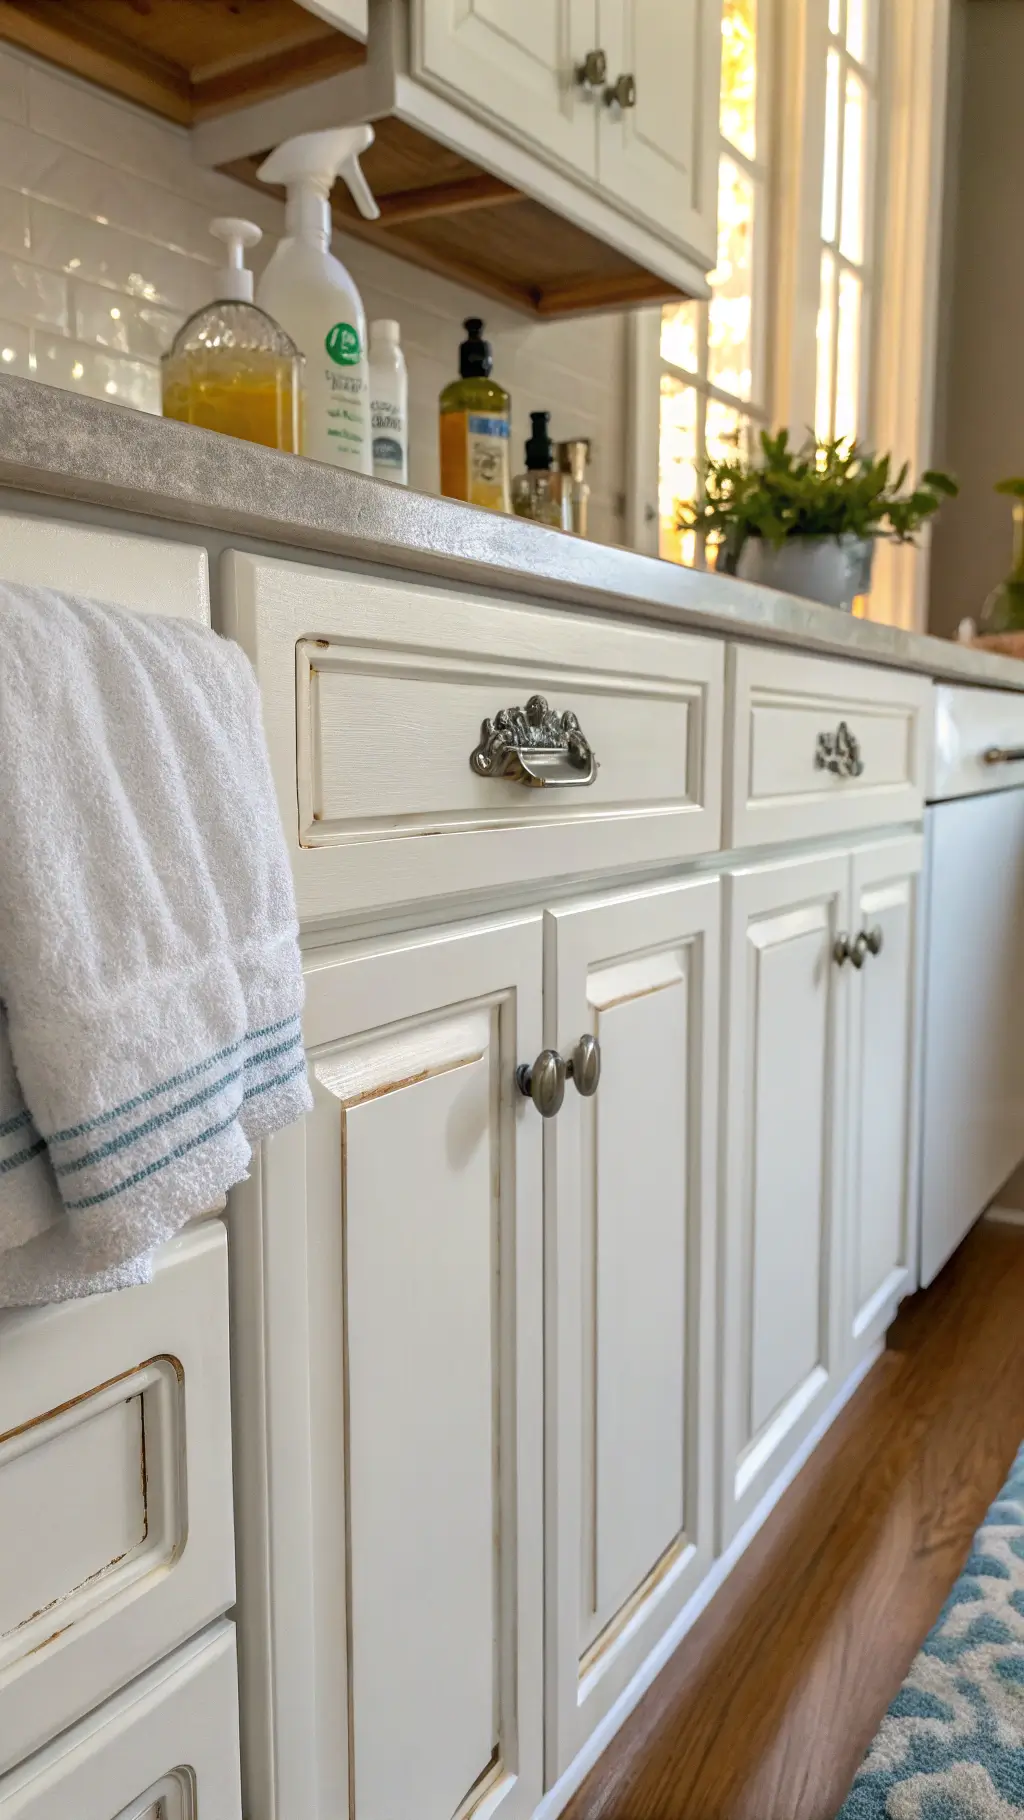
Maintaining Your Freshly Painted Cabinets
Simple Care Tips to Preserve Your Work
- Clean surfaces gently using mild soap and water
- Avoid abrasive or harsh chemical cleaners that can damage paint
- Promptly touch up any chips or scratches to prevent further wear
- Use soft microfiber cloths for dusting and wiping
Cost-Effective Alternatives to Full Cabinet Replacement
Creative Solutions for Budget-Conscious Renovators
- Refacing cabinets by replacing doors and drawer fronts
- Applying chalk paint for a charming, vintage-inspired finish
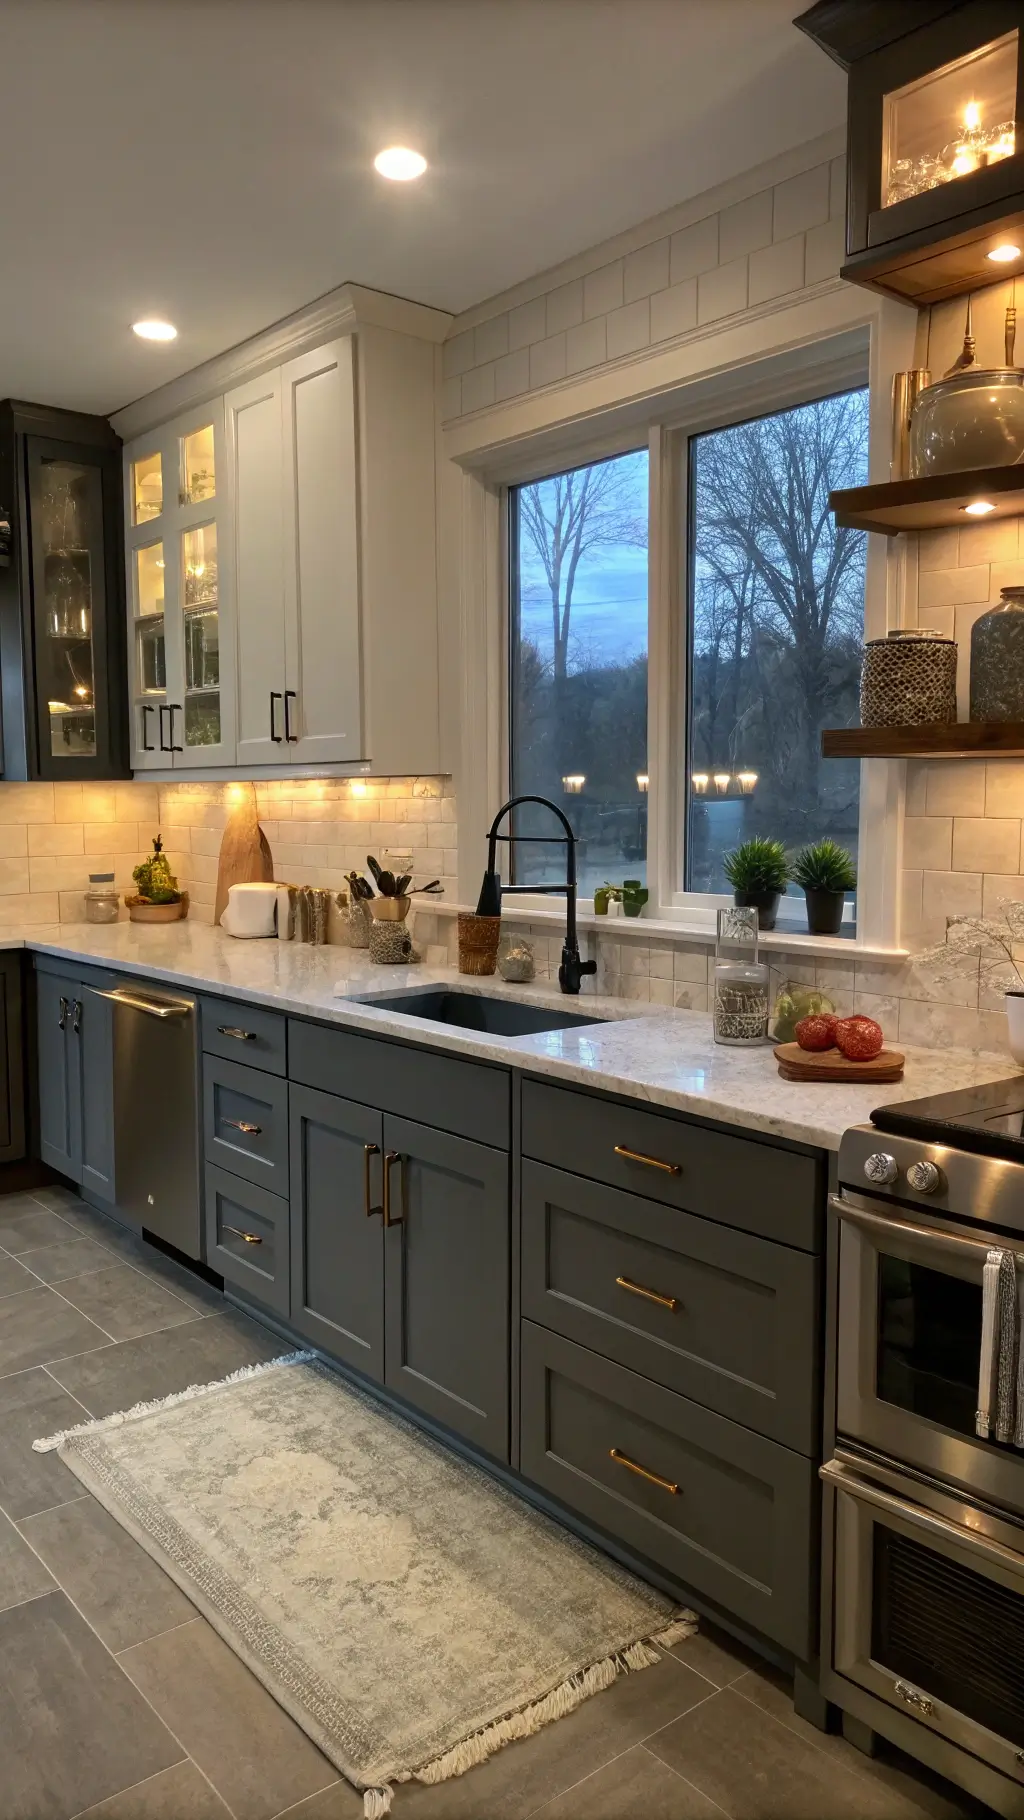
- Painting only select sections for a two-tone effect
- Incorporating open shelving alongside painted cabinetry for visual interest
Wrapping Up: Your Path to a Stunning Kitchen Makeover
Painting kitchen cabinets is more than just a DIY task—it’s a transformative project that can elevate your home’s style and value. With the right preparation, tools, and techniques, you can achieve a professional-quality finish that revitalizes your kitchen.
- Estimated Completion Time: 2 to 3 days
- Required Skill Level: Moderate
- Budget Range: $500 to $2,000
Final Advice: Approach the project with patience, invest in quality materials, and don’t hesitate to experiment with colors and hardware. Your dream kitchen is within reach—just a few brushstrokes away!