 efistu.com Home Decor
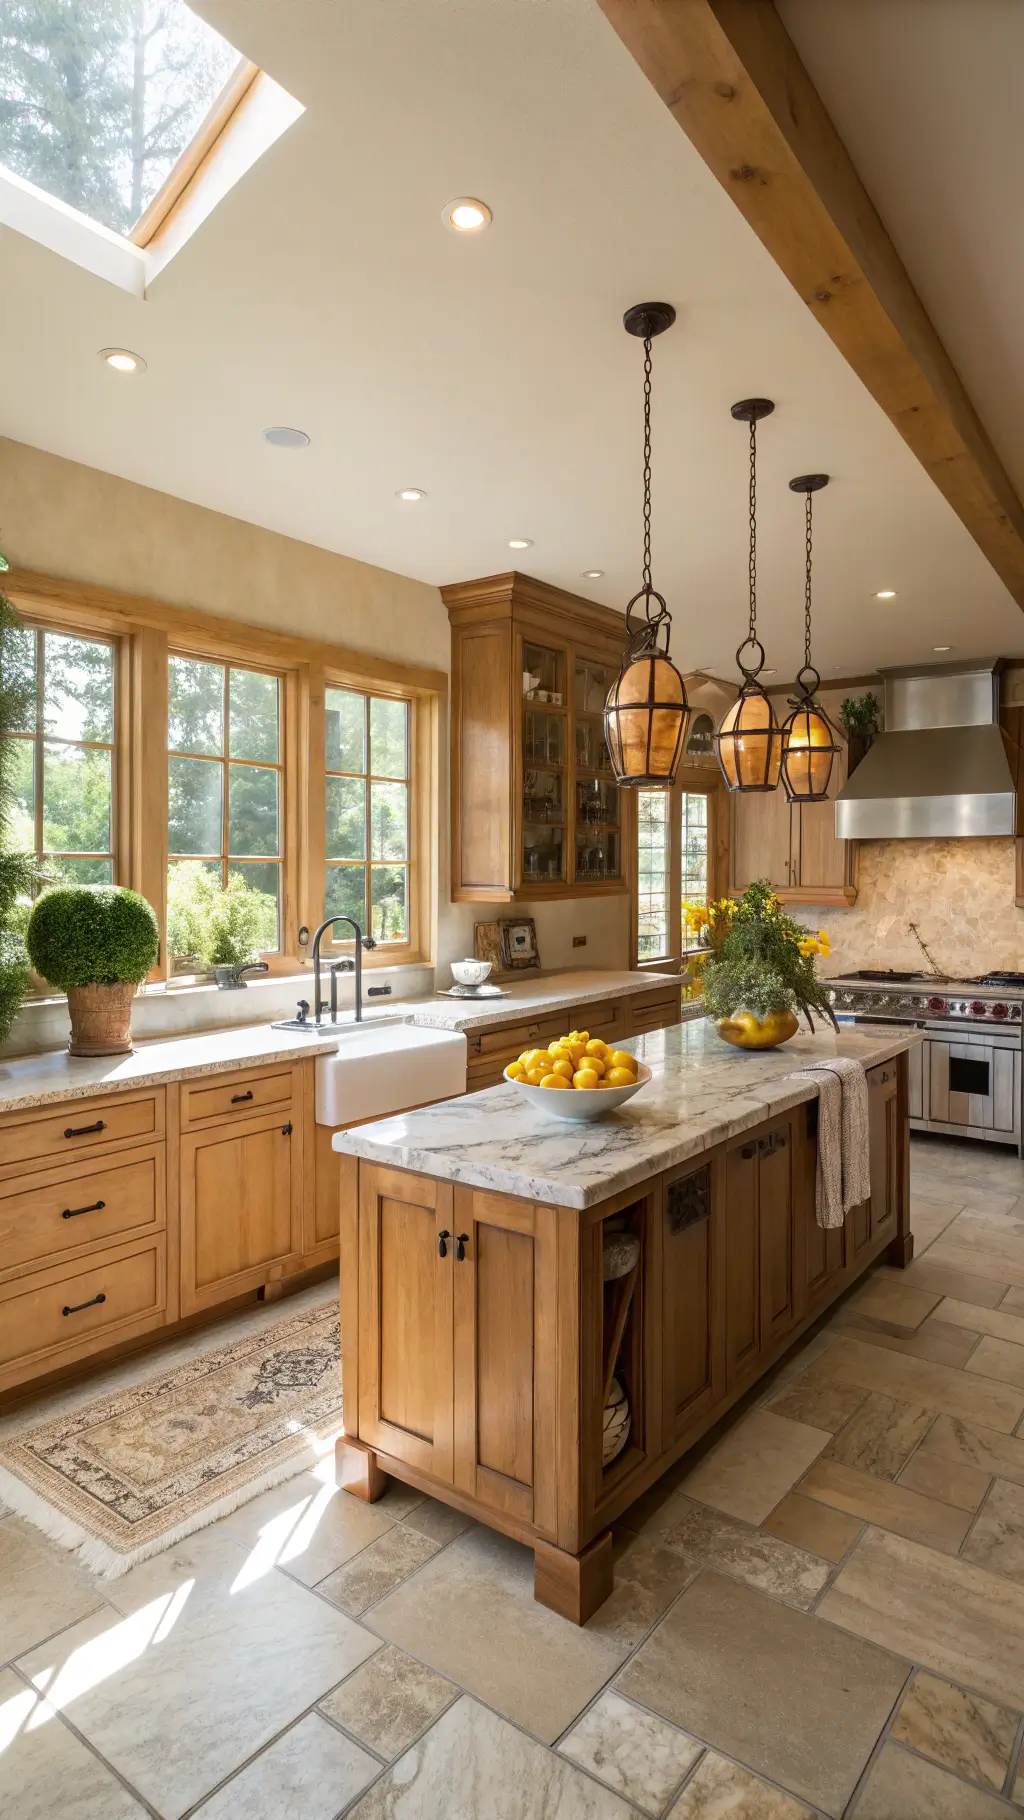
Why Maple Cabinets Continue to Captivate Homeowners
After years of photographing and styling kitchens, I can confidently say that maple cabinets are among the most captivating elements to feature. Their adaptability and warm tones can elevate any kitchen from ordinary to extraordinary.
In this guide, I’ll share my step-by-step approach to highlighting the natural beauty of maple cabinetry through photography and styling.
Preparing for Your Maple Cabinet Photoshoot
Before you begin, gather these essentials:
Necessary Tools:
- A quality camera or a modern smartphone with a good lens
- Access to natural daylight or softbox lighting
- Simple styling props to enhance the scene
- Photo editing software such as Lightroom or mobile editing apps
Estimated Time Commitment:
- Photography session: 30 to 60 minutes
- Styling and setup: 1 to 2 hours
- Overall project duration: 2 to 4 hours

Step-by-Step Guide to Setting Up Your Shot
Follow these steps to create a polished and inviting kitchen photo:
1. Declutter Thoroughly
- Clear away all non-essential items
- Retain only carefully chosen decorative pieces
- Clean every surface until it gleams
2. Harness Optimal Lighting
- Early morning light is ideal (around 8 to 10 AM)
- Face the windows to maximize natural illumination
- Avoid harsh direct sunlight that causes strong shadows
3. Build Your Styling in Layers
- Begin with larger focal items
- Add medium-sized accents
- Complete with small decorative details

Expert Styling Advice for Maple Cabinet Photography
Here are some valuable tips I’ve picked up over time:
Recommended Practices:
- Arrange items in groups of odd numbers for visual interest
- Incorporate natural elements such as plants to add life
- Combine different textures like wood, metal, and glass for depth
What to Avoid:
- Overfilling countertops with too many objects
- Mixing clashing patterns that distract the eye
- Neglecting the importance of negative space to balance the composition

Harmonizing Colors with Maple Cabinets
Maple cabinetry pairs beautifully with a variety of hues, including:
- Soft, warm neutrals
- Rich earth tones
- Metallic finishes like brass and copper
- Vibrant green accents from foliage

Effective Angles for Capturing Maple Cabinetry
Try these perspectives to showcase your kitchen’s best features:
Wide-Angle Views
- Encompass the entire kitchen space
- Highlight the cabinetry layout
- Perfect for sharing on platforms like Pinterest
Close-Up Details
- Focus on cabinet hardware
- Showcase the wood grain texture
- Capture styled vignettes
Contextual Lifestyle Shots
- Photograph through doorways for depth
- Shoot from adjacent dining areas
- Use counter-level angles for intimacy

Frequent Pitfalls and How to Avoid Them
Based on my experience, steer clear of these common errors:
- Insufficient or overly harsh lighting
- Overcrowded or messy compositions
- Unbalanced or chaotic styling
- Incorrect white balance settings
Refreshing Your Kitchen’s Look with Seasonal Styling
Keep your kitchen photos dynamic by incorporating seasonal elements:
Spring and Summer Accents
- Bright, fresh flowers
- Colorful citrus fruits
- Lightweight linens and fabrics
Autumn and Winter Touches
- Warm copper or bronze accessories
- Cozy textiles like wool or knit throws
- Seasonal fruits and vegetables

Final Recommendations for Stunning Maple Cabinet Imagery
Keep these principles in mind for the best results:
- Prioritize quality over quantity in your shots
- Maintain a consistent editing style for a cohesive portfolio
- Regularly back up your images to avoid data loss
- Optimize images for Pinterest with a 2:3 aspect ratio
Capturing the essence of maple cabinet photography requires patience and a keen eye for detail. Use these strategies as a foundation, but don’t hesitate to experiment and develop your unique aesthetic.