 efistu.com Home Decor
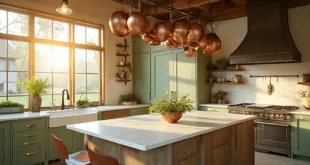
Transform Your Kitchen Cabinets: The Perfect Weekend DIY Project
Kitchen cabinets endure daily wear and tear—from grease splatters to constant opening and closing—making them one of the most hardworking elements in your cooking area.
Here’s the exciting part: You can revamp your kitchen’s entire look without breaking the bank or undergoing a full-scale renovation. Painting your kitchen cabinets offers a cost-effective and impactful way to refresh your space.
Gather Your Supplies: Essential Tools for Cabinet Painting
Must-Have Equipment
- Premium quality paintbrushes
- Various grits of sandpaper
- High-adhesion primer
- Semi-gloss or satin finish paint
- Protective drop cloths
- Painter’s masking tape
- Screwdrivers for hardware removal
- Lint-free cleaning cloths
- Heavy-duty degreaser
- Safety gear including gloves and respirator masks
Helpful Guidelines
- Estimated Budget: $100 to $500
- Time Required: Approximately 2 to 3 days
- Skill Level: Suitable for intermediate DIY enthusiasts
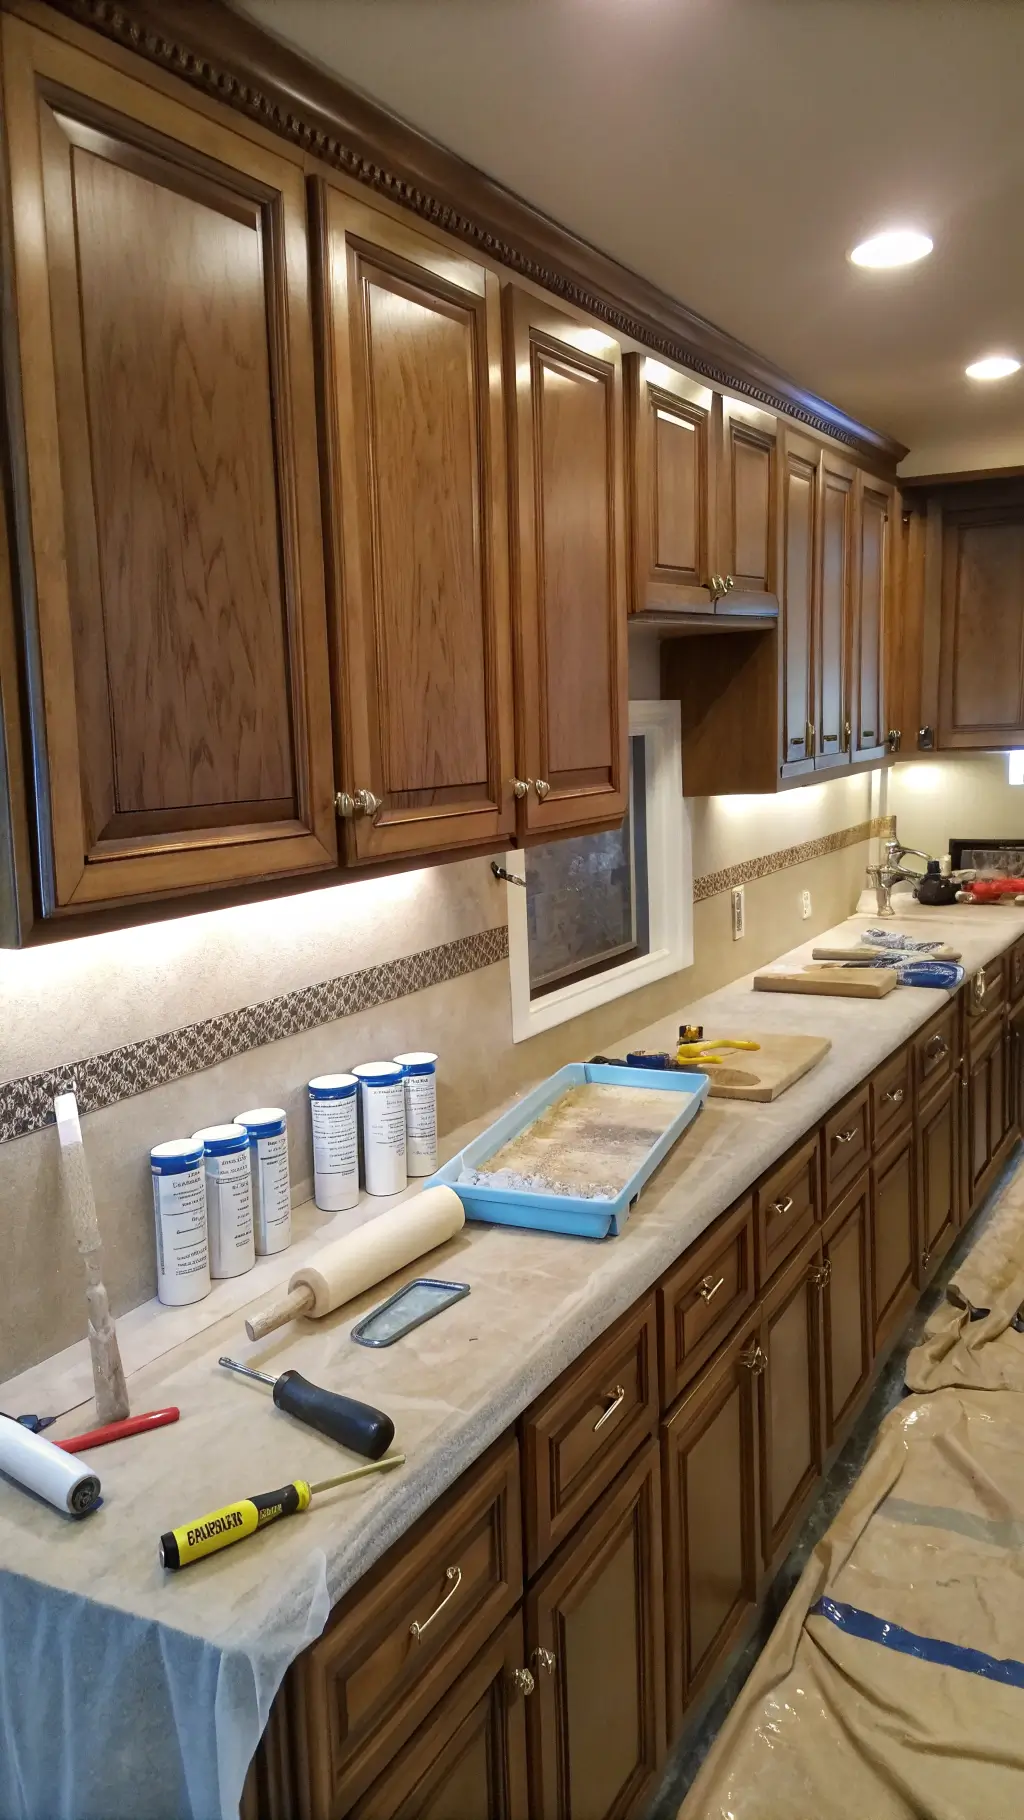
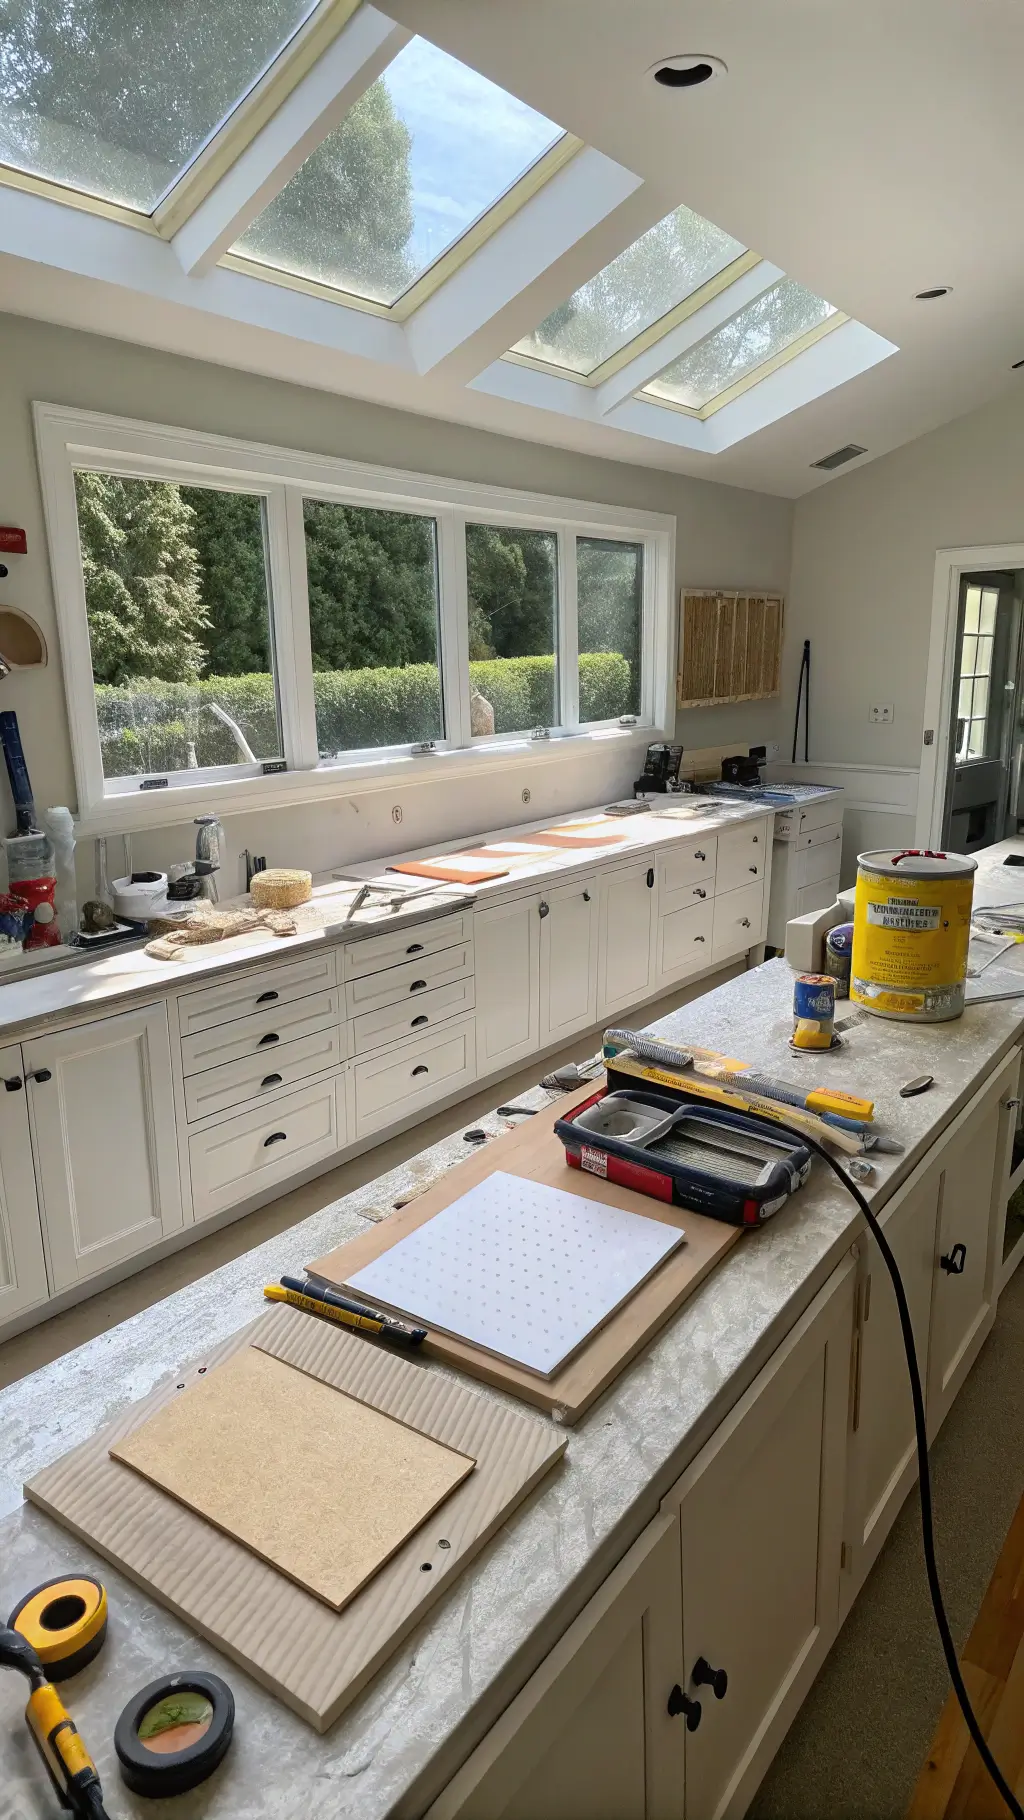
Preparation: The Foundation of a Lasting Finish
Step 1: Remove and Clean
- Detach all cabinet knobs, handles, and hinges
- Thoroughly clean surfaces using a strong degreaser to eliminate grease and dirt buildup
- Ensure all residues from cooking and grime are completely removed
Step 2: Sanding for Success
- Light sanding is crucial for paint to adhere properly
- Begin with 120-grit sandpaper to roughen the surface
- Follow up with 220-grit sandpaper to smooth out imperfections
- Important: Skipping sanding can lead to peeling and chipping paint
Priming: The Key to a Flawless Finish
Why Primer is Essential
- Establishes a smooth, even base for paint application
- Enhances the paint’s ability to stick to the surface
- Conceals previous colors and surface flaws
- Ensures a polished, professional appearance
Application Recommendations:
- Use a foam roller for broad, flat areas
- Employ angled brushes to reach corners and intricate details
- Apply thin, consistent layers
- Allow each coat to dry fully before applying the next
Choosing the Right Paint: Beyond Just Color
Types of Paint to Explore
- Latex Paint: Easy to clean, low in fumes
- Oil-Based Paint: Offers superior durability and a smooth finish
- Chalk Paint: Popular for a matte, vintage look
- Specialized Cabinet Paints: Formulated for high-traffic kitchen use
Understanding Color Impact
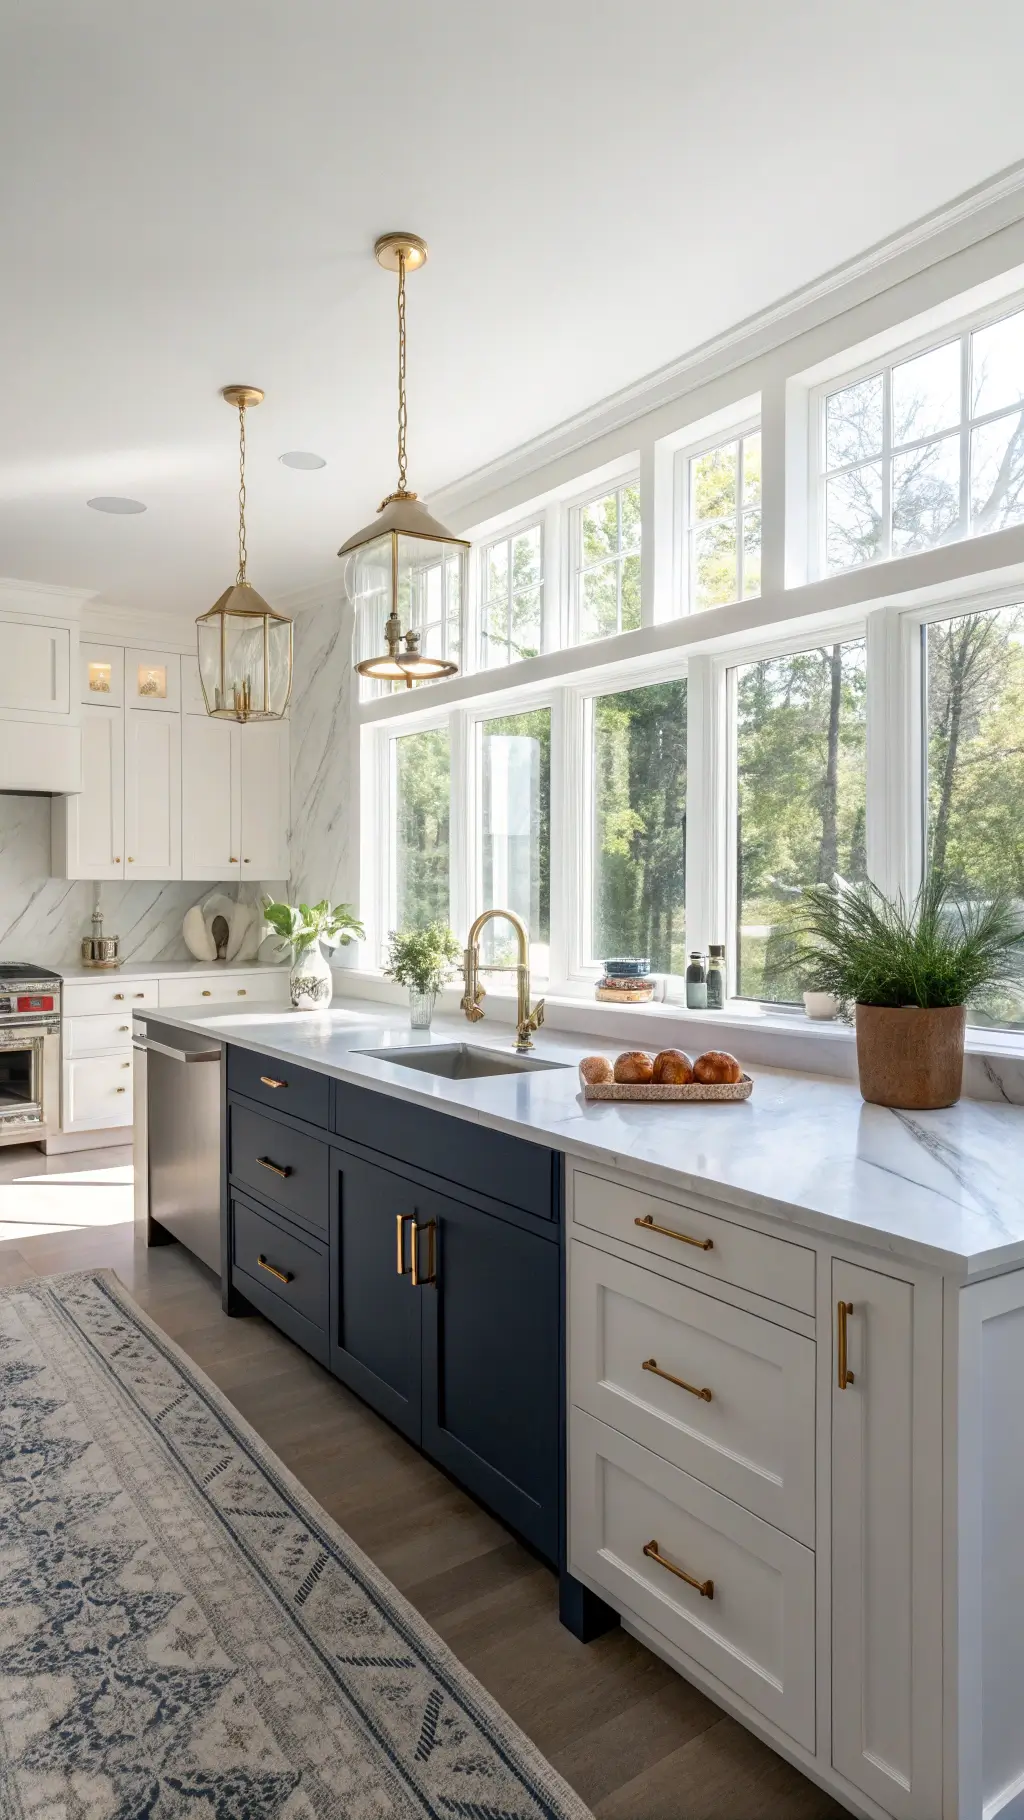
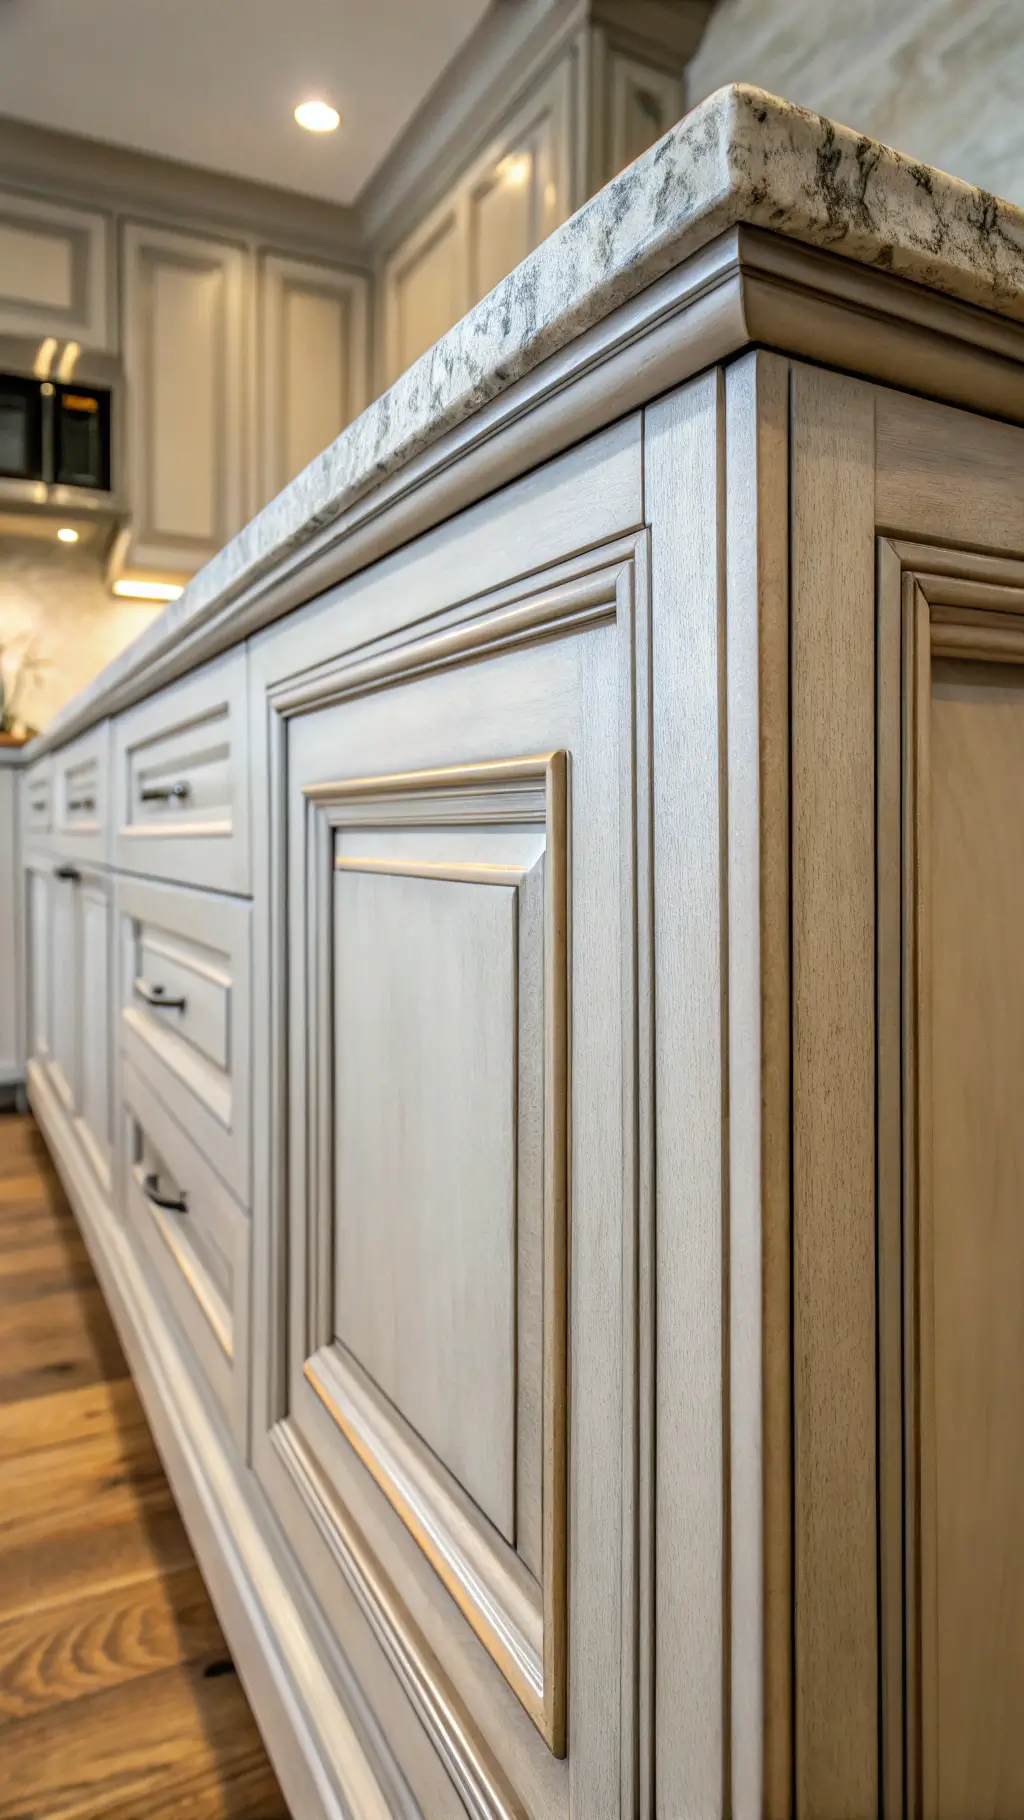
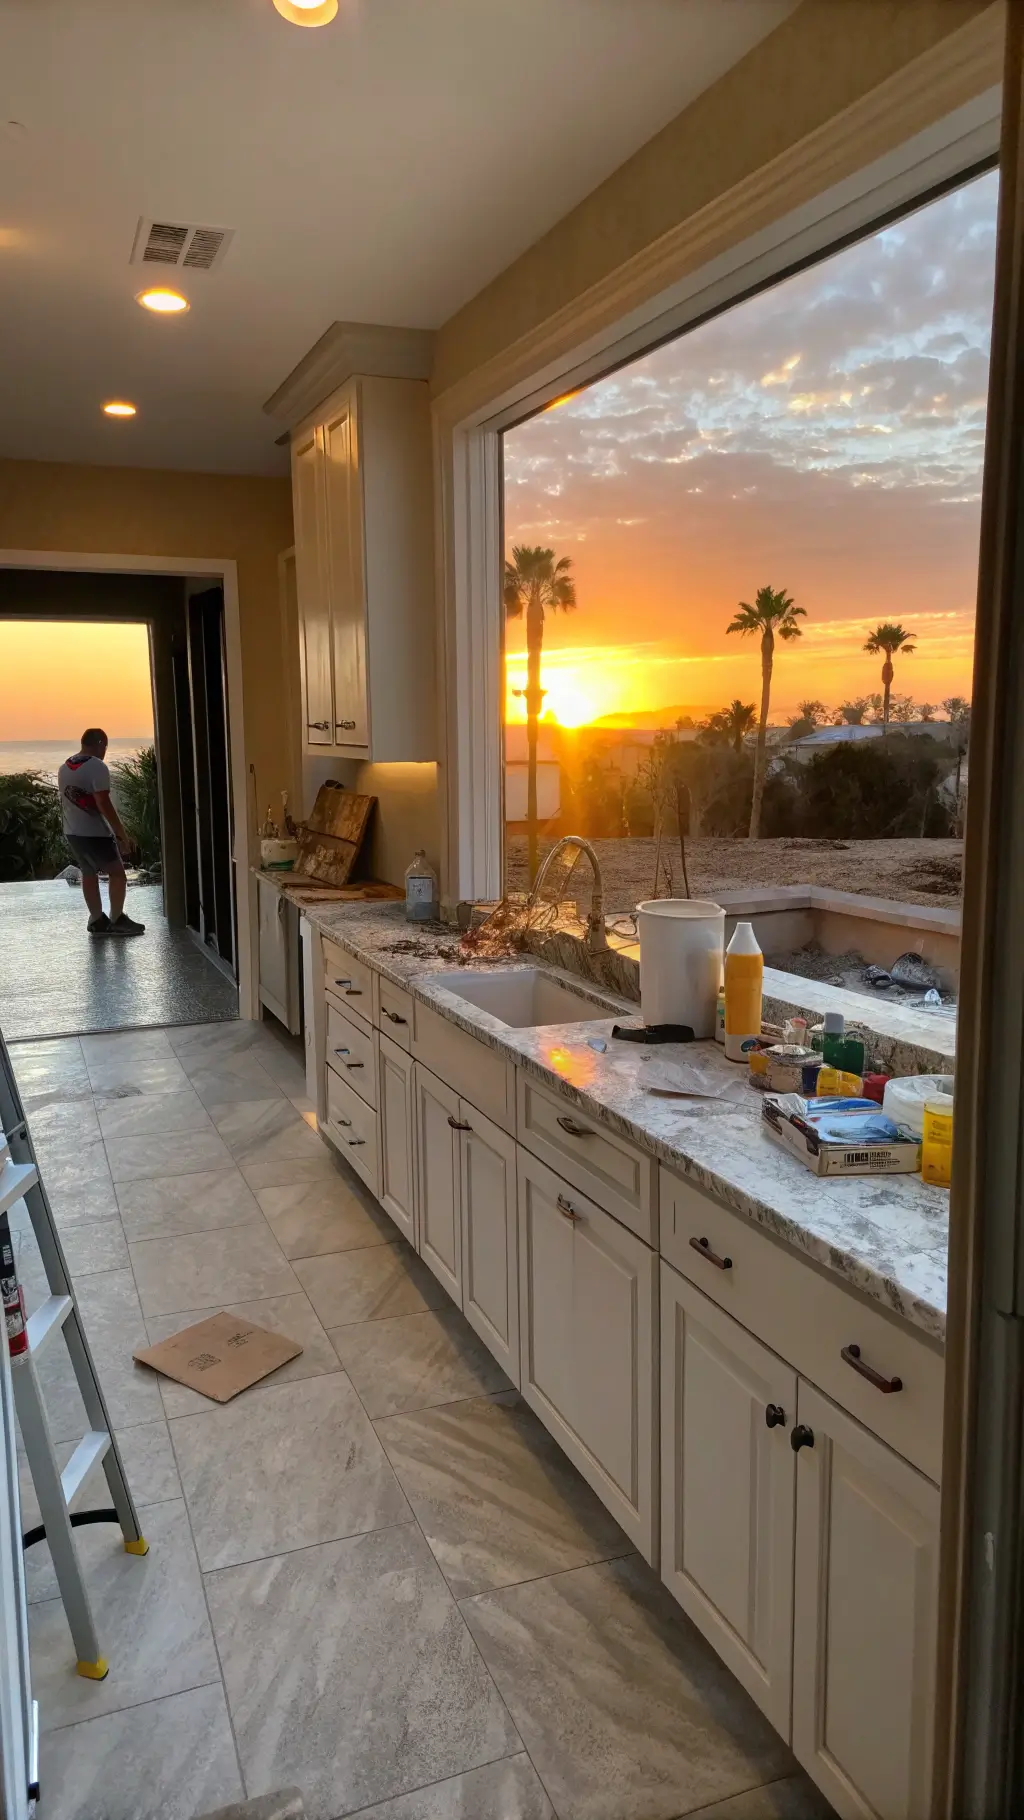
- White: Classic, bright, and timeless
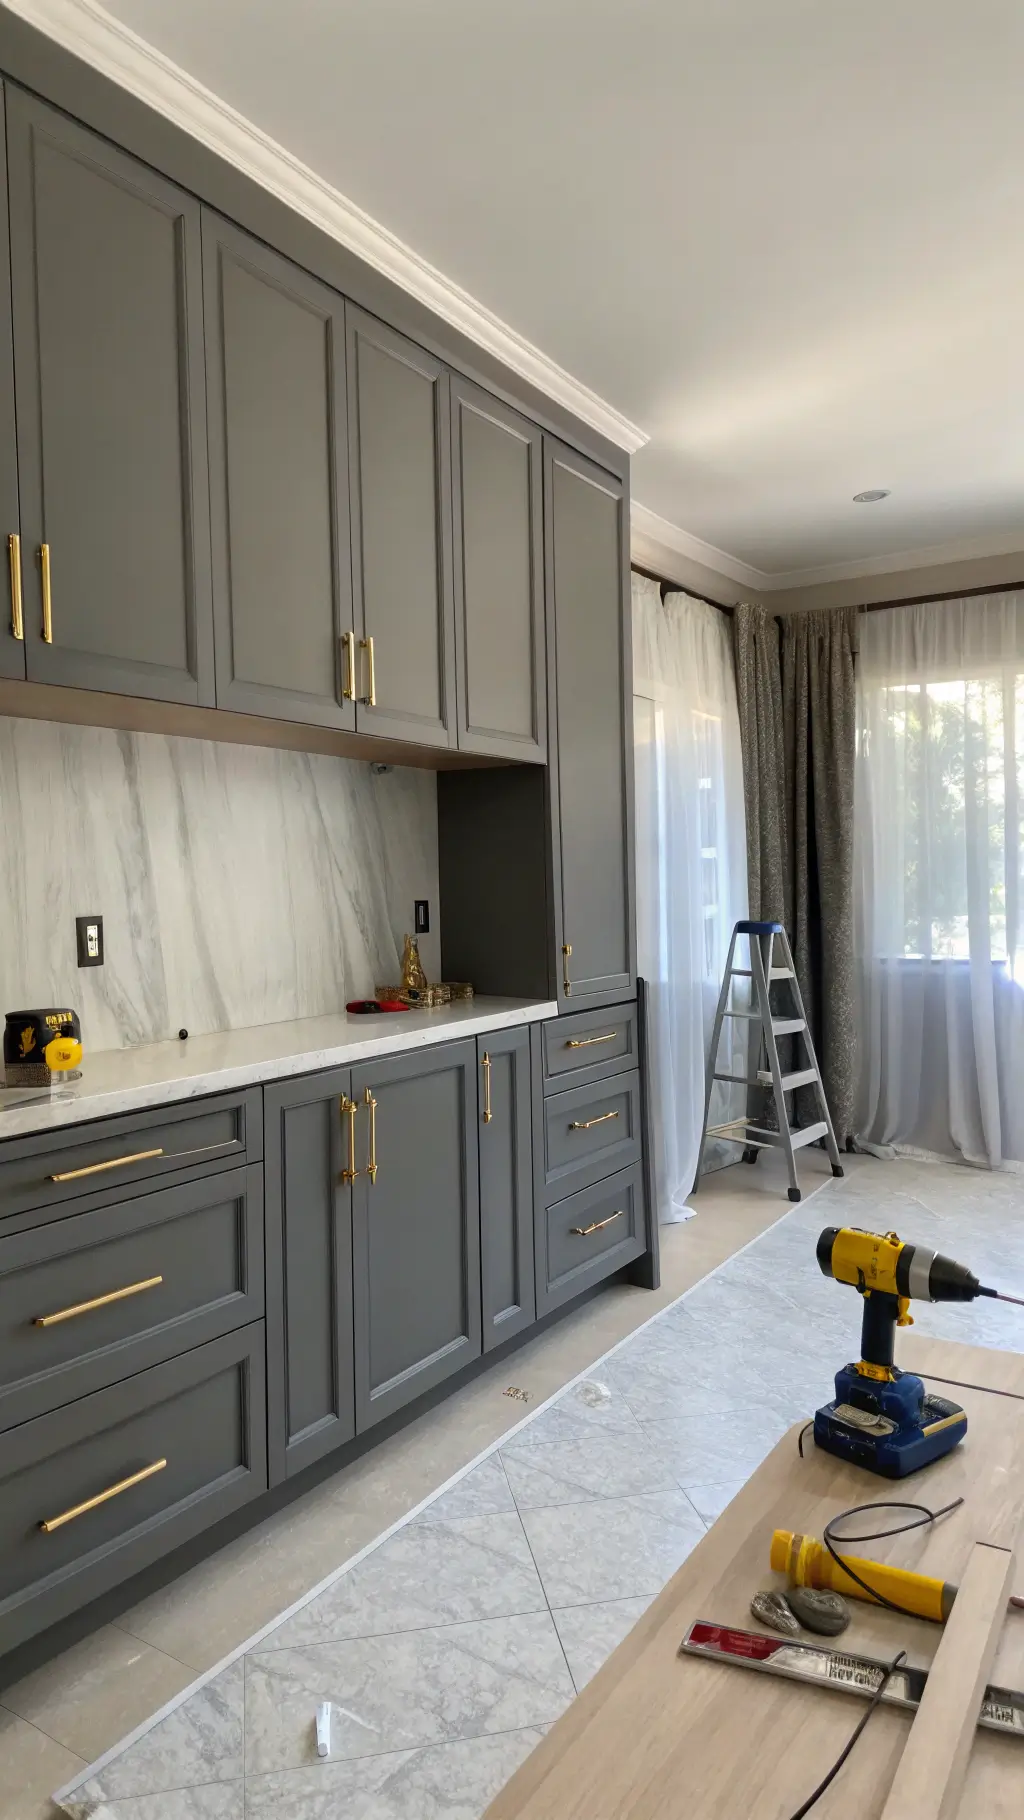
- Gray: Sleek and contemporary
- Navy Blue: Striking and bold
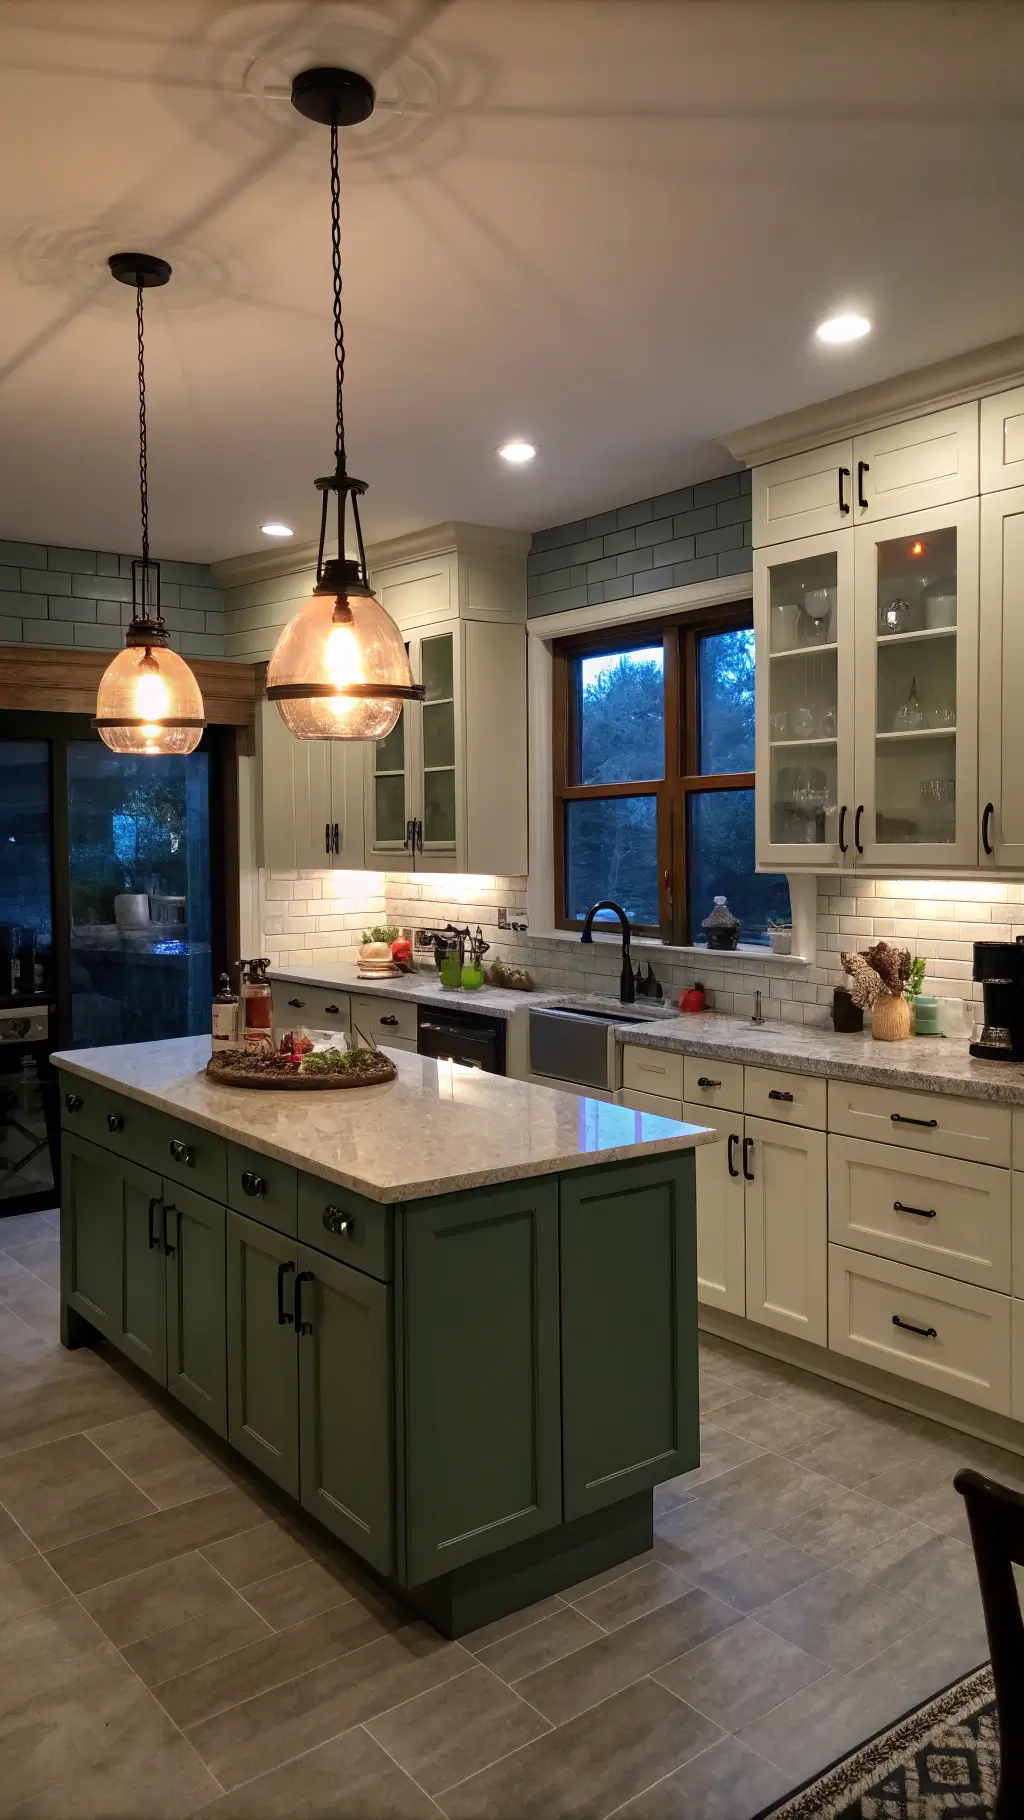
- Sage Green: Soothing and earthy
Mastering the Painting Process: Tips for a Professional Look
Stepwise Painting Instructions
- Begin with the upper cabinets to avoid drips on freshly painted lower ones
- Use long, even brush strokes for a smooth finish
- Follow the direction of the wood grain for best results
- Apply two to three thin coats rather than one thick layer
- Allow at least 24 hours of drying time between coats
Common Pitfalls to Steer Clear Of
- Hurrying through the painting stages
- Applying paint too thickly, which can cause drips and uneven texture
- Painting in high humidity or damp environments
- Neglecting to remove cabinet hardware before painting
Final Details: Hardware and Finishing Touches
Refreshing Your Cabinet Hardware
Replacing old knobs and pulls can dramatically elevate the look of your newly painted cabinets. Consider modern finishes like brushed brass, matte black, or polished chrome to complement your color choice.
Maintaining Your Cabinets: Tips for Longevity
How to Keep Your Cabinets Looking Fresh
- Clean with mild, non-abrasive cleaners to protect the paint
- Avoid scrubbing with harsh pads or brushes
- Promptly touch up any chips or scratches to prevent further damage
- Consider applying a clear protective coat annually to extend durability
Budget Overview: Cost-Effective Kitchen Makeover
DIY Cabinet Painting: Typically ranges from $100 to $500
Hiring Professionals: Can cost between $1,500 and $3,500
Complete Kitchen Remodel: Often exceeds $10,000
Potential Savings: Up to 90% compared to a full renovation, making cabinet painting a smart investment.
Wrapping Up: Your Path to a Stunning Kitchen
Painting your kitchen cabinets is more than just a simple update—it’s a transformative project that breathes new life into your home. With the right preparation, tools, and patience, you can achieve a professional-quality finish that revitalizes your space.
Remember: Every brushstroke brings you closer to a kitchen you’ll love.